Industrial thermostats play a vital role in temperature control and environmental regulation. Proper installation and commissioning can not only improve the operating efficiency of the equipment, but also extend its service life. The following is a detailed guide to the installation of industrial thermostats, covering installation location selection, wiring requirements, parameter settings, commissioning steps, and solutions to common problems.

1. Installation location selection
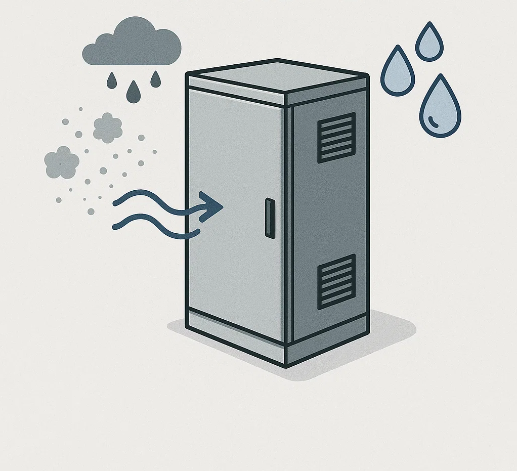
- Avoid installing the thermostat in places directly exposed to high or low temperatures, such as hot air outlets, cooling pipes, or direct sunlight. The ideal location is an area with relatively stable and uniform temperature.
- Maintain good ventilation: The thermostat should be installed in a well-ventilated place to avoid obstruction of surrounding air circulation, so as to ensure that the thermostat can accurately sense the ambient temperature.
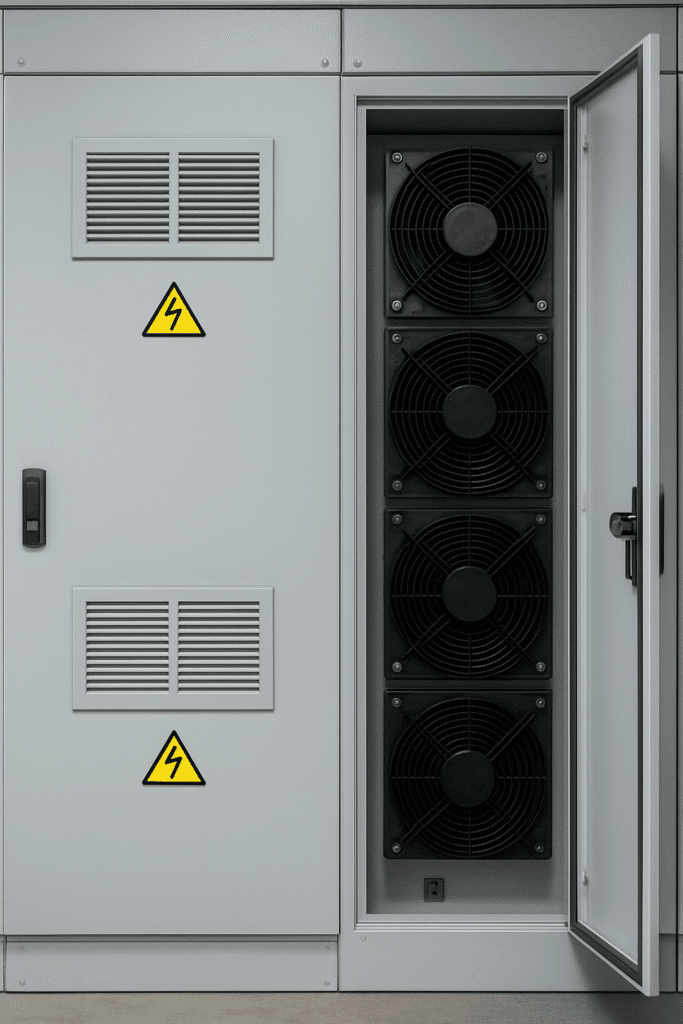
- Dustproof and waterproof: If the installation environment is dusty or humid, it is recommended to choose a thermostat with an IP54 or higher protection level and equip it with a protective cover to prevent environmental factors from damaging the equipment.
- Installation height: The thermostat should be installed in a location that is easy to observe and operate. It is usually recommended to be 1.2-1.5 meters above the ground to ensure that users can easily adjust and read parameters.
2. Wiring requirements
- Check the power supply voltage: Make sure that the power supply voltage is consistent with the rated input voltage of the thermostat, such as AC220V or DC24V. If the voltage does not match, the device will be damaged or unable to work.
- Wiring order:
- Main power line: Connect the power line to the power input terminal (L/N or +/-) of the thermostat.
- Load line: Connect the load device (such as a heater or cooler) to the output terminal of the thermostat.
- Sensor line: Connect the temperature sensor according to the mark, and make sure that the sensor line is away from the high-voltage line to avoid interference.
- Wiring check: Use a multimeter to test the voltage and resistance of each terminal to ensure that the wiring is correct and there is no short circuit or open circuit.
- Grounding requirements: The thermostat housing should be reliably grounded to reduce electromagnetic interference and improve equipment safety.
3. Parameter setting
- Target temperature setting: Set the target temperature through the thermostat panel or software according to the equipment requirements. For example, the heating equipment is set to 50℃ and the cooling equipment is set to 25℃.
- Differential value adjustment: The differential value (i.e. the temperature difference between the start and stop of the thermostat) is usually set to 2℃-5℃ to avoid frequent start and stop of the equipment.
- Alarm temperature setting: Set the over-temperature or low-temperature alarm value. For example, an alarm is triggered when it exceeds 70℃ or is lower than 10℃.
- Mode selection: Select cooling or heating mode according to the actual application, and check whether the mode switching is normal.
4.Debugging steps
- Check before power on: Confirm that all wiring is correct, and the power supply and current meet the equipment requirements. Make sure that the sensor is installed in place and not loose.
- Initial power on: Observe whether the thermostat display is normal after power on. If there is no display, check the power connection and fuse.
- Sensor calibration: Use a standard thermometer to calibrate the sensor of the thermostat to ensure that the reading error is within the allowable range (usually ±0.5℃).
- Function test:
- Heating mode: Observe whether the heater starts when it is below the target temperature; whether the heater stops when the target temperature is reached.
- Cooling mode: Observe whether the cooler starts when it is above the target temperature; whether the cooler stops when the target temperature is reached.
- Record the debugging results: record the problems found during the debugging process and the final setting parameters for reference in subsequent maintenance.
5. Common Problem Solving
- Thermostat does not work:
- Check whether the power is on.
- Confirm whether the sensor is connected correctly.
- Check whether the fuse is blown.
- Abnormal thermostat reading:
- Whether the sensor position is installed correctly to avoid contact with high or low temperature sources.
- Whether the sensor line is interfered with, you can try to use shielded wire.
- Frequent start and stop of the equipment:
- Adjust the differential value and increase the temperature difference range to reduce the start and stop frequency.
- Check whether the load equipment is overloaded or the power supply is unstable.
- Frequent alarm triggering:
- Check whether the alarm temperature setting is reasonable.
- Confirm whether the sensor is damaged or the reading is deviated.
- The display screen does not respond:
- Check whether the power supply line is normal.
- The above detailed installation guide helps engineers to operate their industrial thermostats normally. If you encounter other problems in actual operation, it is recommended to refer to the equipment manual or contact the professional technical support team.